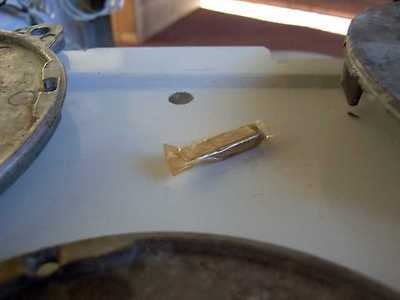
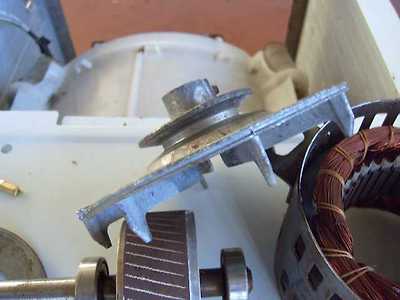
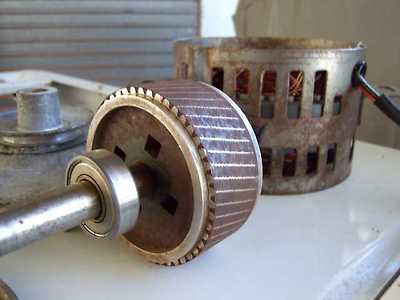
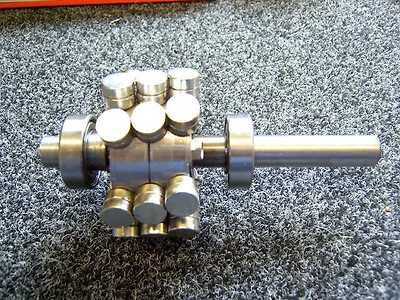
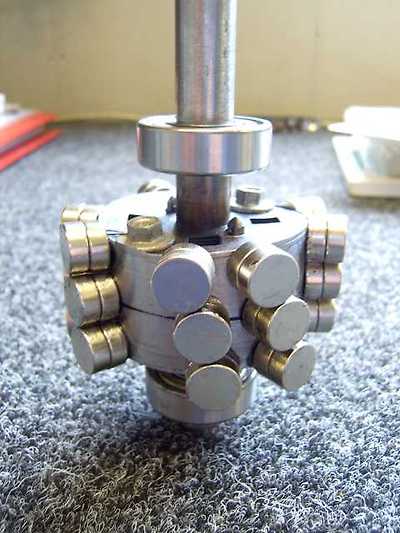
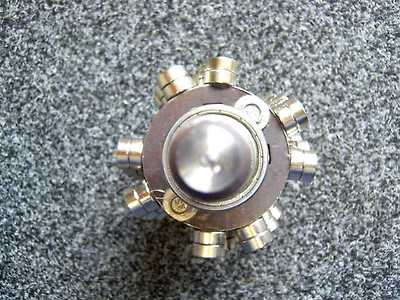
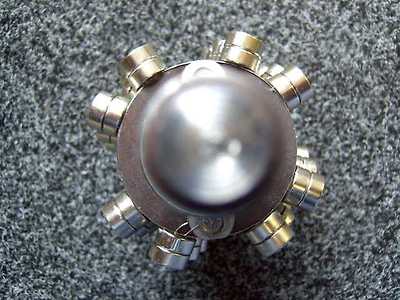
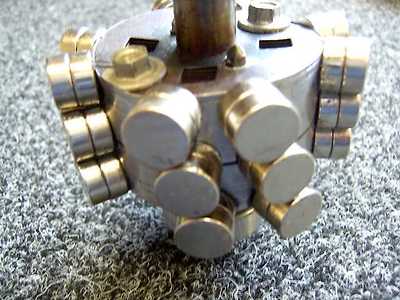
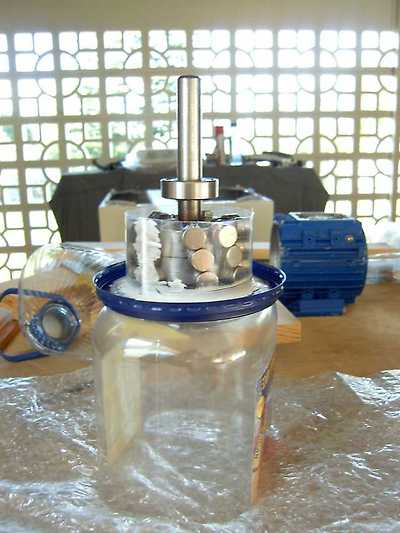
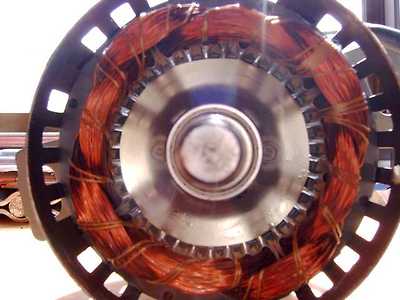
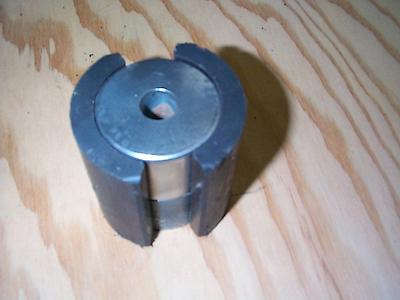
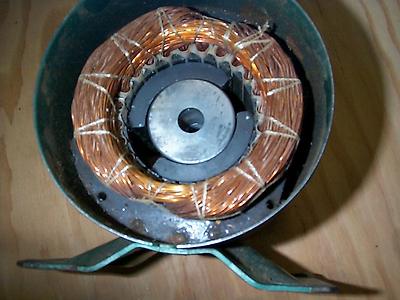
| My 12 year old washing machine finally fell apart, and I splashed out on a new one. While stripping the old one for useful bits, I caught sight of the old motor. 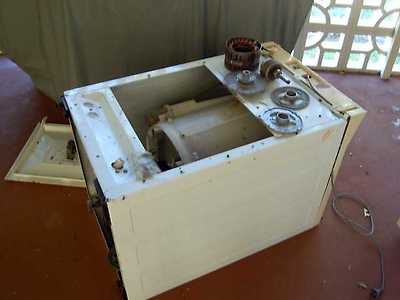 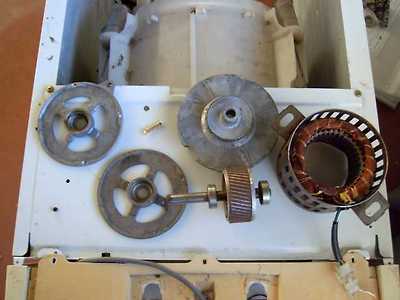 A quick check showed it was an induction motor. I'm in The belt pulley was made of aluminium, and I will turn that The rotor was about 80mm in diameter, and about 30mm This is what the rotor looked like after being machined down
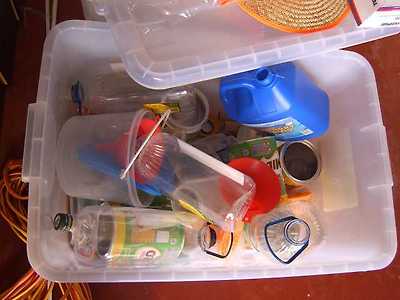
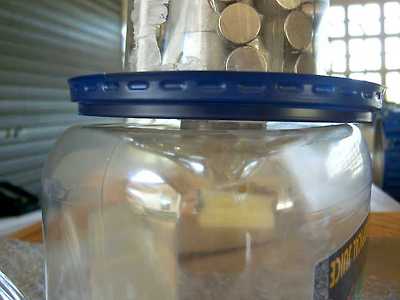
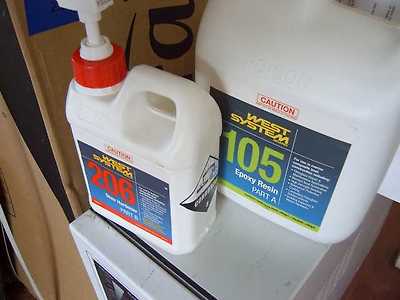
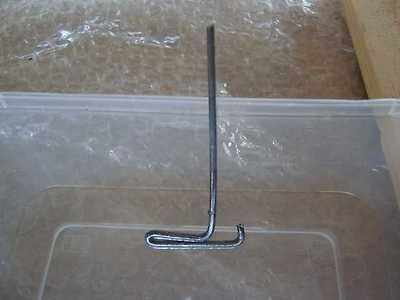
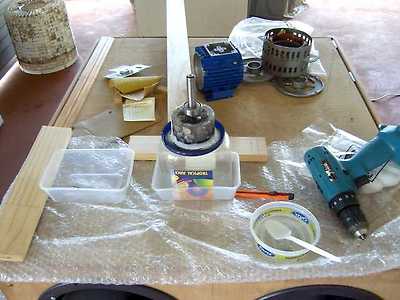
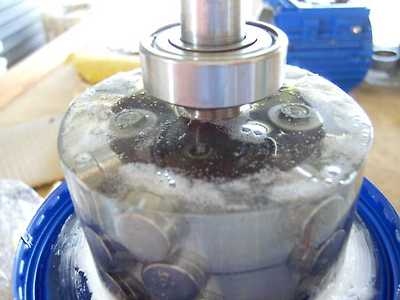
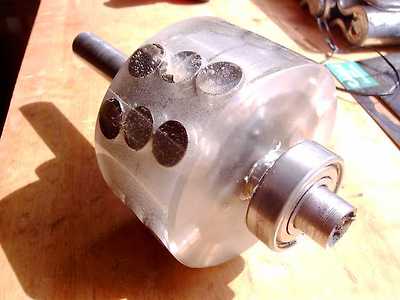
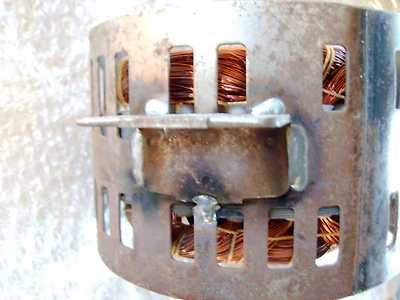
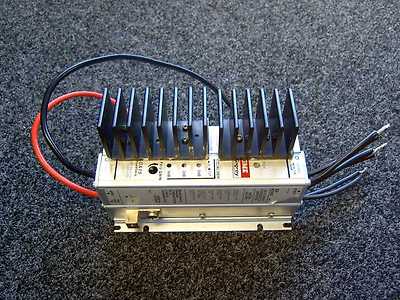
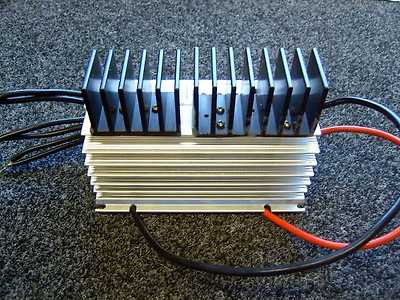
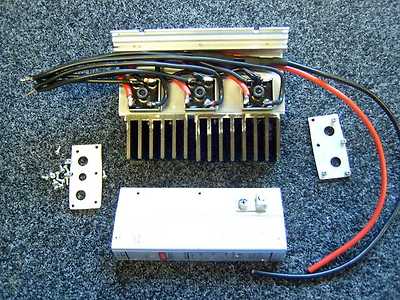
I keep all my old plastic, metal & glass containers these days. I sliced up an old juice container and wrapped it around the magnets. The rotor sat just nice inside the old juice container base. I bought some West System Epoxy this time, as I noticed a This is my patented :-) epoxy mixing tool. As you can see, I use an old 12V drill connected to a 50Ahr battery for mixing Here is the rotor about 30 minutes after being poured with epoxy. After curing for a week in our tropical sun, I put the rotor back Here it is with the sun behind it. You can see the magnets inside the epoxy. It has two new bearings, and I added some welds to the I used an old MATV amp to fit some 50Amp 600Volt bridge
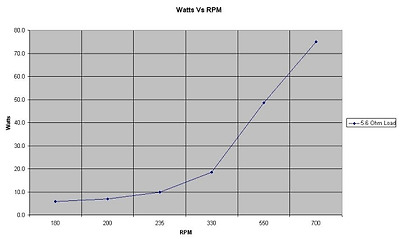
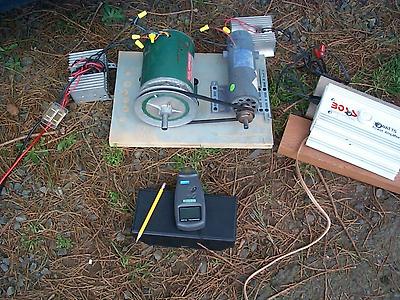
I put the motor back into the lathe and did some tests. The rotor can be spun between two fingers to produce 20+ In conclusion, I'm happy that it performed as I expected it would. I'm going to do a set of wood blades based on Hugh's designs I also recovered the "gearbox" from the washing machine, and Spank me! The gearbox even has a friction brake!! I might set this one up at home in a suburban setting on a fold If not, I can see it becoming a battery charger at a friends house Costs: Making power from junk - priceless :) sPuDd.. |
| Washing Machine Induction Motor Conversion. | 17 comments (17 topical, 0 editorial) |
|
| Hi sPuDd.
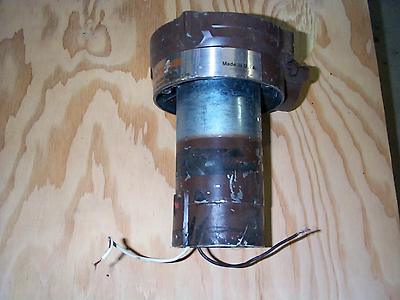
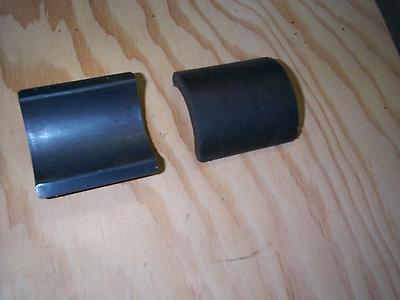
Here are some thought for the 3 phase 2 pole you posted about earlyer. Sorry for plcing it here but thought it might get over looked in that thred. It was geeting prety long?LOL I've played with some 3 phase 2 pole conversions. If your not looking for much power and just expirimenting this might work as well as a group of small NEOs? Also you might just concidering leaving the stock wireing in the next small 3 phase motor. Just seperate the ends of all coils. Perelell the coils of each phase, use a fullwave bridge for each phase then perelell the outputs of those 3 bridges. Even though these magnets are only ceramics they cover allmost 100% of the pole face and because of this have practicaly no cogging. The output is low but on a par with the tinny NEOs. Best part the ceramics are free. I get them from plumbers. Some of the Garbage disposal motor are PM and have a nice littel bridge rectifier also. Heres a few pictures.
This last 1 is testing. |
댓글
댓글 리스트-
작성자바람똘이 작성시간 08.11.11 한글로 번역 않될까요???ㅠㅠㅠ
-
작성자청랑 작성시간 09.01.17 우선 베어링부터 베어링 가게서 구입하시고 다음 축은 가공하심됩니다. 자석은 인터넷에 Nb자석류 찾아보시면 찾을 수 있습니다. 에폭시레진은 FRP취급하는 곳이나 대형 페인트 취급점에서 찾을 수 있습니다. 200 RPM일때 10W 수준이면 실망이군요.
-
작성자강원남도 작성시간 09.03.17 일반유도 전동기 회전축에 영구자석을 부착하면 발전기가 된다는말씀이네요,,,감사,,꾸~벅,,
-
작성자특징 작성시간 09.04.29 200rpm에 10w라면 모터의 결선을 바꾸어서 극을 늘리면 어떻게 될까요? 세탁기의 모터는 내가 알기로는 단상모터인데 권선의 결선을 바꾸어서 극수를 올리면 출력도 달라질거 같읍니다.
-
작성자동양 작성시간 09.11.02 초보에겐 어려워보이네요
